小伙伴们知道万能数据恢复大师怎么找回硬盘中数据吗?今天小编就来讲解万能数据恢复大师找回硬盘中数据教程,感兴趣的快跟小编一起来看看吧,希望能够帮助到大家呢。
万能数据恢复大师找回硬盘中数据的操作过程

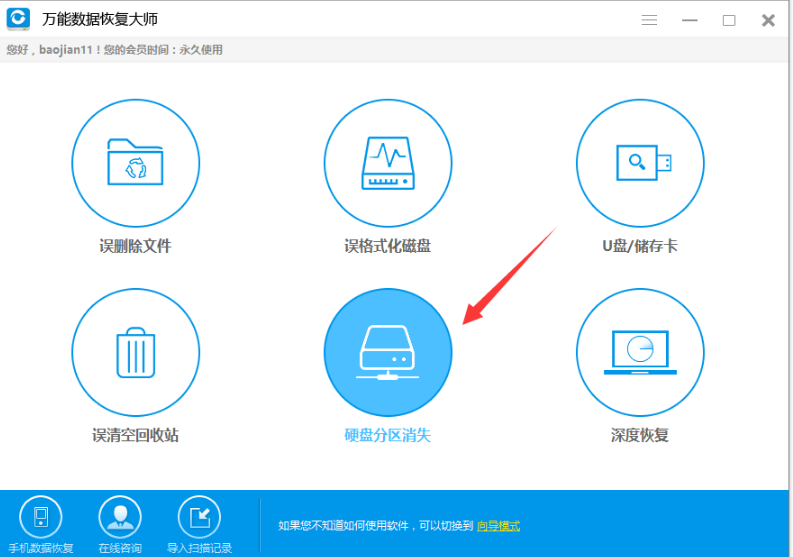
1、打开万能数据恢复大师,选硬盘分区丢失功能(ps,下图是标准模式下的功能界面图,在软件下方“黄色字体”可以进行切换模式)
2、如果软件已经找到丢失的分区,直接点击对应分区恢复
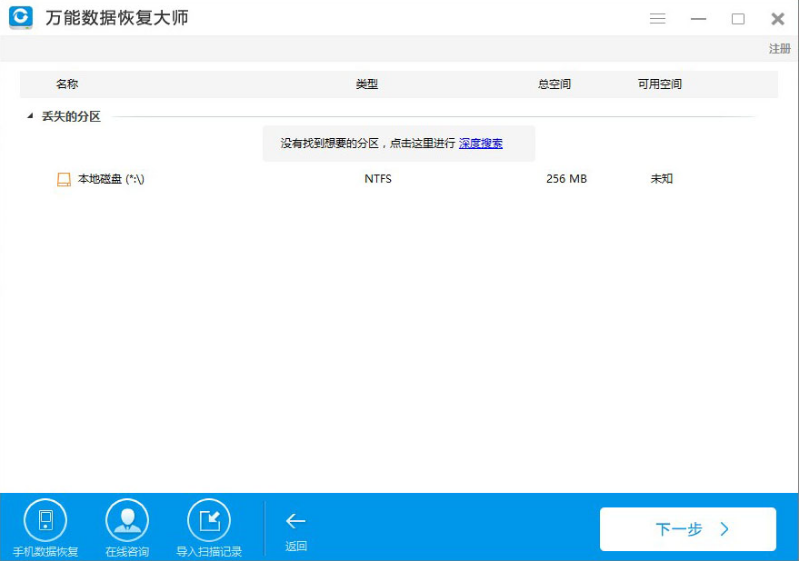
3、如果列表中丢失的分区不是要恢复的分区,则可以点击深度搜索,扫描硬盘中丢失的分区。
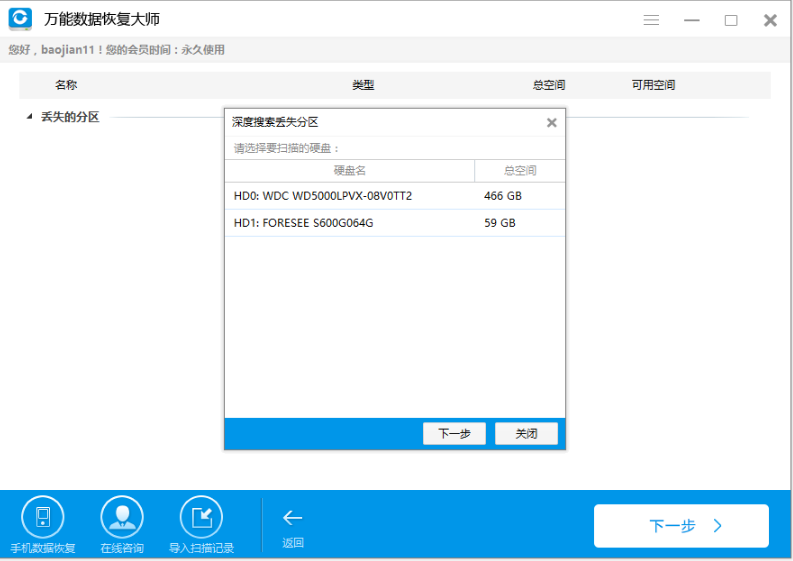
4、点击深度搜索后会弹出深度搜索丢失分区的对话框,先选择丢失分区的硬盘,然后点下一步开始扫描。
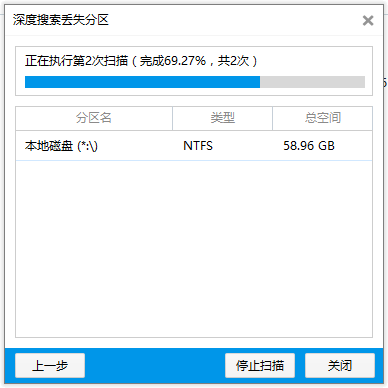
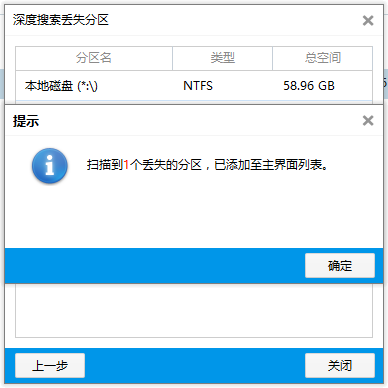
5、扫描到的分区会立即显示在下面的列表中,此时可以直接停止深度扫描,选择分区扫描文件。
6、点击扫描文件后选择要找的文件类型
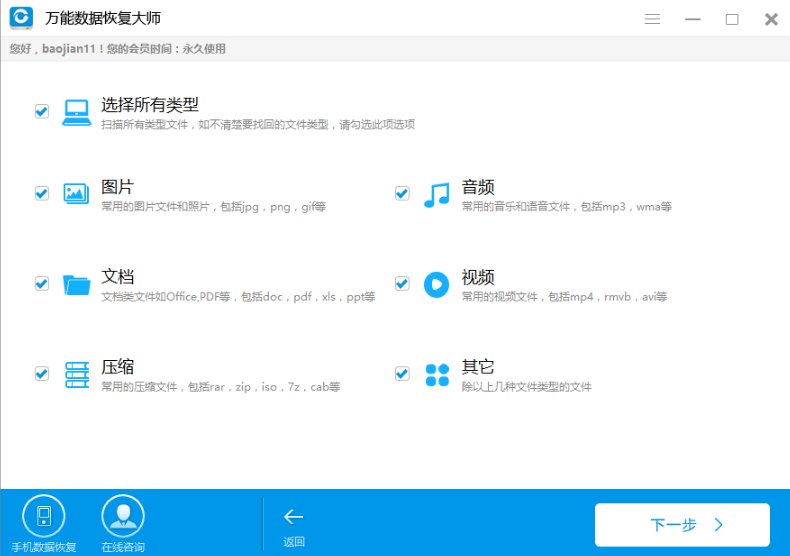
7、然后就可以开始扫描以前分区中的文件了,扫描完后勾选对应文件就可以恢复。

以上就是小编给大家带来的万能数据恢复大师找回硬盘中数据教程的全部内容,希望能够帮助到大家哦。