刚刚接触ps软件的各位亲们,你们会使用通道来抠图吗?倘若还不了解相关的操作,下面我们一起去学习一下ps使用通道进行抠图的简单步骤吧,相信对大家一定会有所帮助的。
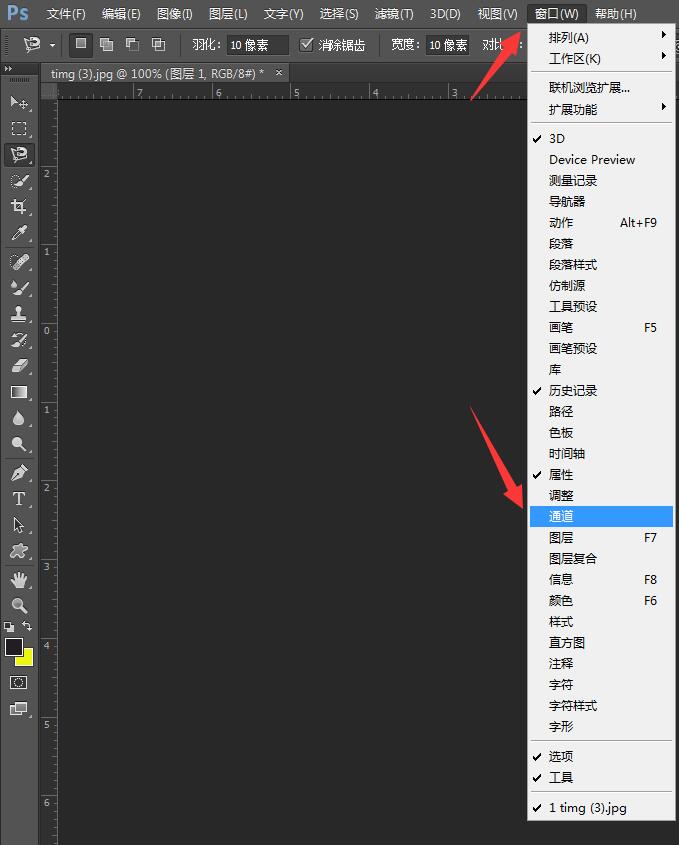
打开ps,打开图片,Ctrl+J复制图层,在窗口菜单栏找到通道面板,打开通道面板
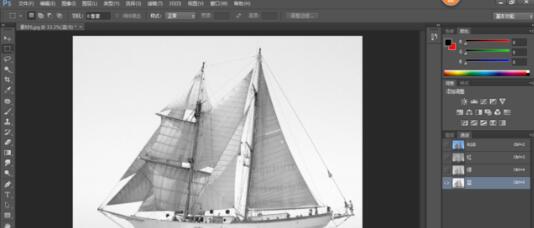
自行调整,找出颜色对比明显的通道,选择蓝通道
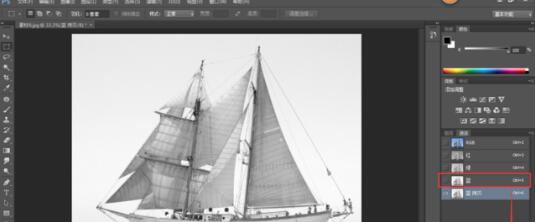
接着复制蓝通道
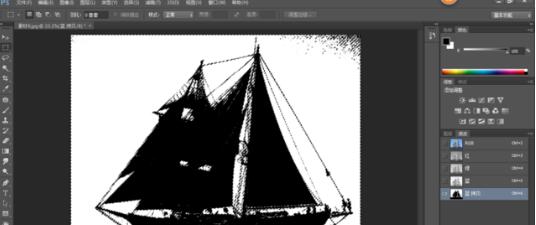
在调整面板中找到色阶面板并打开,调整左右两个三角尖,左边是调整黑色,右边是调整白色
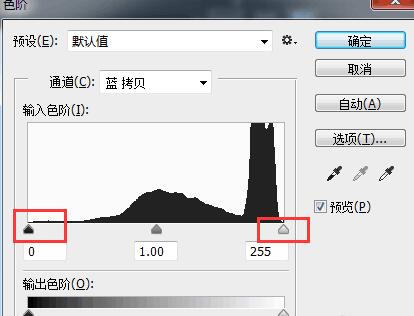
再调到黑白对比明显的地方,需要的是黑色的部分,白色的部分是不需要的

需要再点击右下角的虚线圆圈,在图片上会出现蚂蚁线
待全部调整好,再点击RGB通道,回到图层面板
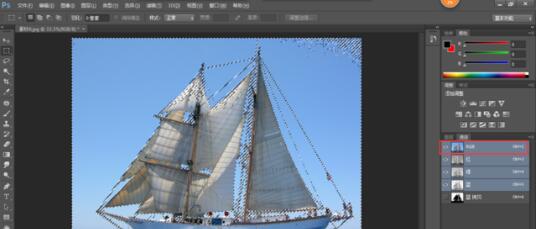
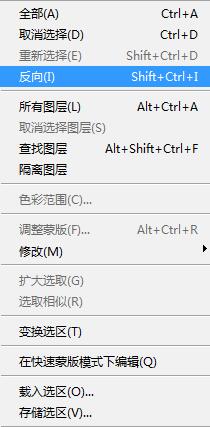
蚂蚁线选中的是不需要部分,所以要选择反向,反向就是选择需要的部分
进行添加蒙板,关闭下方图层的眼睛就能看见效果
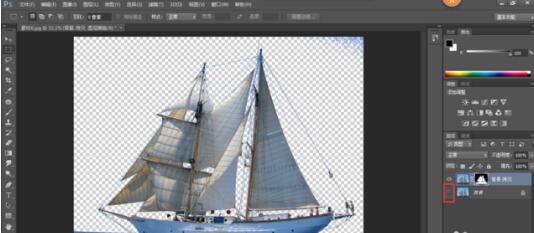
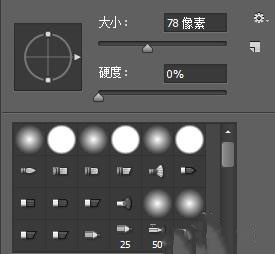
最后将多余部分使用画笔工具擦出,在蒙板上用黑色画笔擦出就行了,调整画笔的硬度
还不了解ps使用通道进行抠图的简单步骤的朋友们,不要错过小编带来的这篇文章哦。